Exporting and preparing a build
Prepare printable parts or fitted stock, export CAD solids, share one editable model, or back up the complete workspace.
On this page
Choose your handoff#
Export produces the manufacturing handoff for the model: printable joint and attachment geometry, plus the stock member lengths the frame expects. Use Import/Export in the top-right menu to prepare parts for a physical build, share an editable model, or back up a workspace.
STL/3MF geometry, basic BOM output, and workspace archives remain available without Pro. STEP export is available to signed-in Pro accounts in both the Frame and Attachment editors. An internet connection is currently required to confirm Pro access; geometry processing and file generation run locally without uploading your model.
For a CAD handoff from the Frame Editor, choose STEP in the export format selector and Download ZIP. The ZIP contains the STEP assembly, its manifest, and an optional BOM. Physical links are solids; joints and purchased parts use faceted surfaces, with separate components positioned in the assembly. In the Attachment Editor, choose STEP to download the attachment as faceted surfaces.
STEP mesh detail controls the approximation of faceted surfaces: Standard targets 0.01 mm, Fine targets 0.001 mm, and Original mesh preserves the source mesh detail. These are approximation targets, not guaranteed maximum deviations. Finer detail increases file size and CAD import time. Physical-link solids retain their analytic section geometry at every setting.
Before printing, inspect the generated parts and clearances. Reconciliation is a deliberate modeling action, not an automatic guarantee, so checking that links and attachments have the clearance you expect is still part of preparing a real build.
Once the parts are printed and the tubes are cut, the assembly guide covers the physical build: which fastening system each attachment uses, what hardware and adhesives to prepare, and how to dry-fit and assemble the frame.
Fit stock and export STEP solids#
Use fitted ends for mitered or coped stock in fitted and welded frame construction across all supported stock profiles. The joint's geometry, pairing, and order determine which cuts are valid. Introducing fitted ends and exporting STEP require TrussLab Pro; existing fitted ends remain editable and removable without Pro.
- Select the logical junction node and open Joint Reconciliation. Review which member ends participate and which members remain fixed or pass through the junction.
- Enable Fitted link ends. This reconciles the joint immediately as one undo step. The joint's pairing and order determine the cuts: paired members receive complementary miters, while other enabled ends cope against earlier members.
- Inspect the complete junction, including wall thickness, member rotation, and contact between the fitted stock. After changing dimensions or the frame layout, inspect the updated ends again. Use the reconciliation reference for pairing, order, and supported profiles.
- Open Import/Export, choose STEP, and choose Download ZIP. The package contains the positioned STEP assembly, its manifest, and an optional BOM for the downstream CAD and manufacturing handoff.
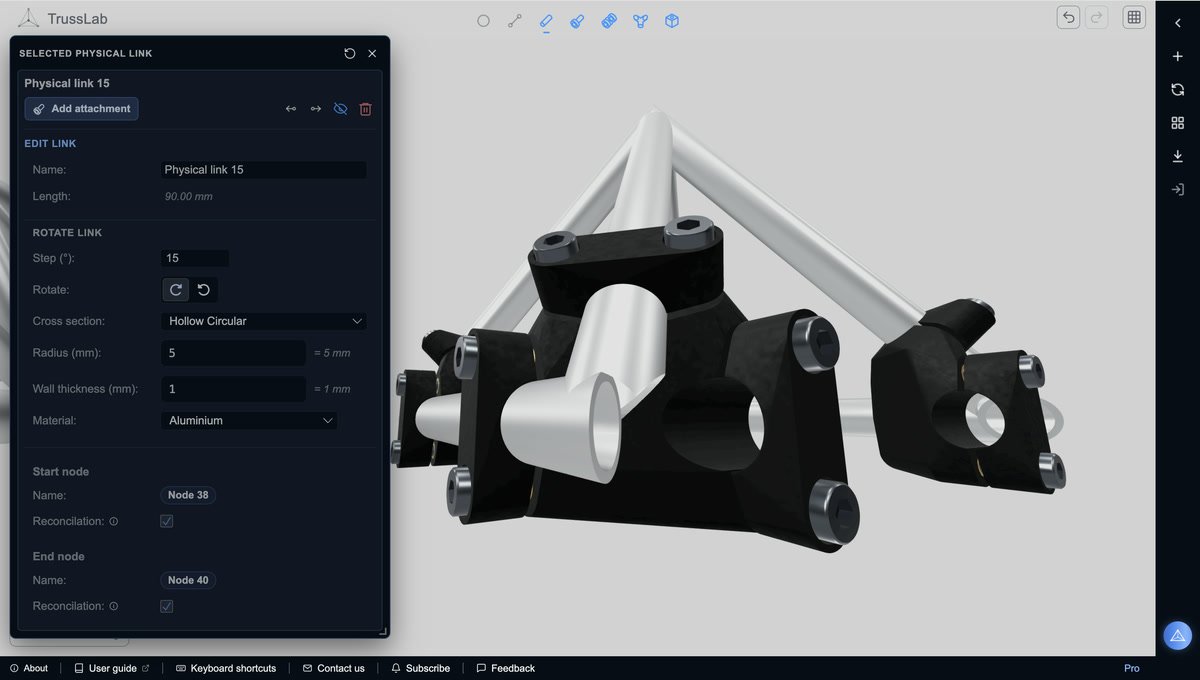
Open the fitted tube ends capture at full resolution.
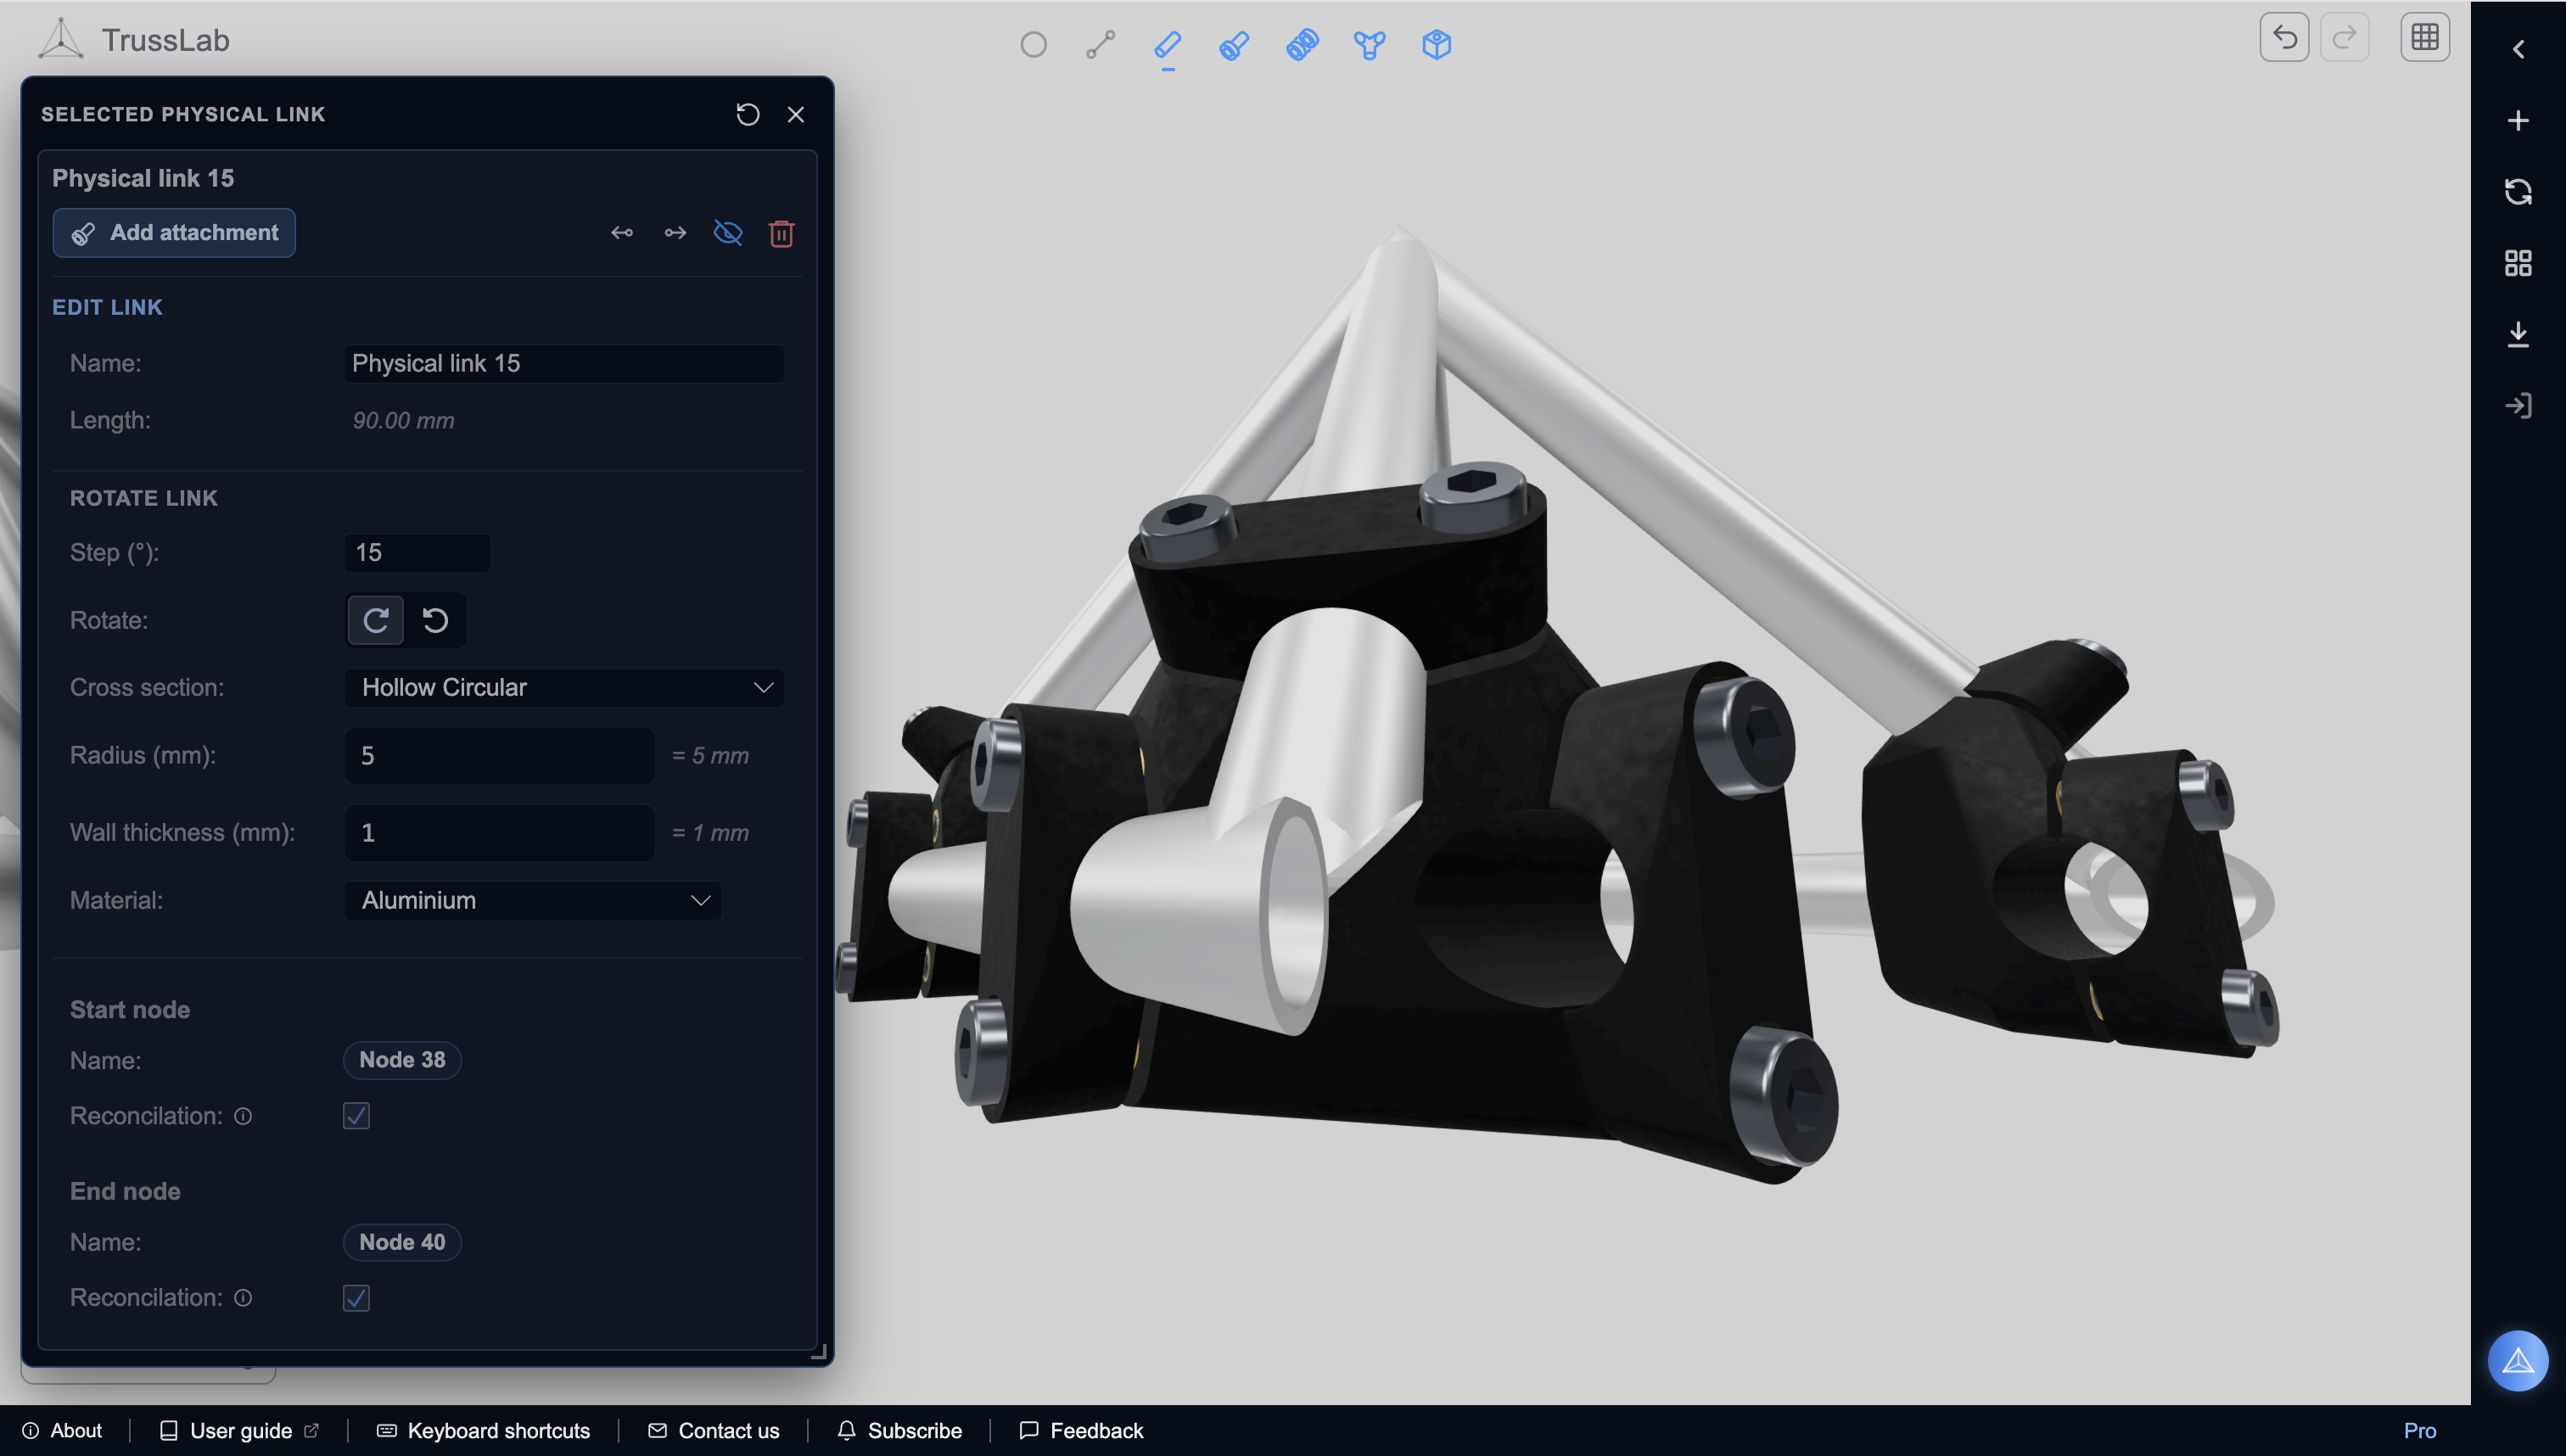
Each stock member exports as one connected CAD solid containing its uniform centre and both shaped ends. Its section and cut geometry use analytic curves and surfaces; STEP mesh detail does not change these stock solids. Members remain separate components in their assembly positions. Printed joints and purchased parts use the faceted representation described above.
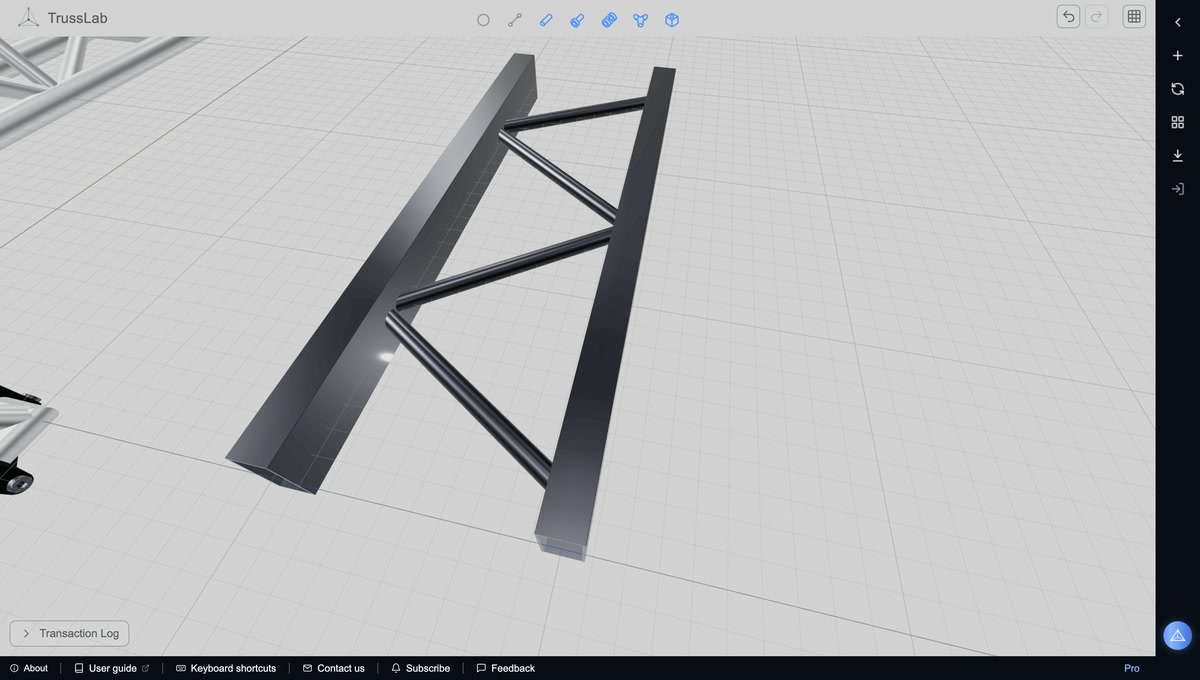
Open the mixed-profile fitted frame capture at full resolution.
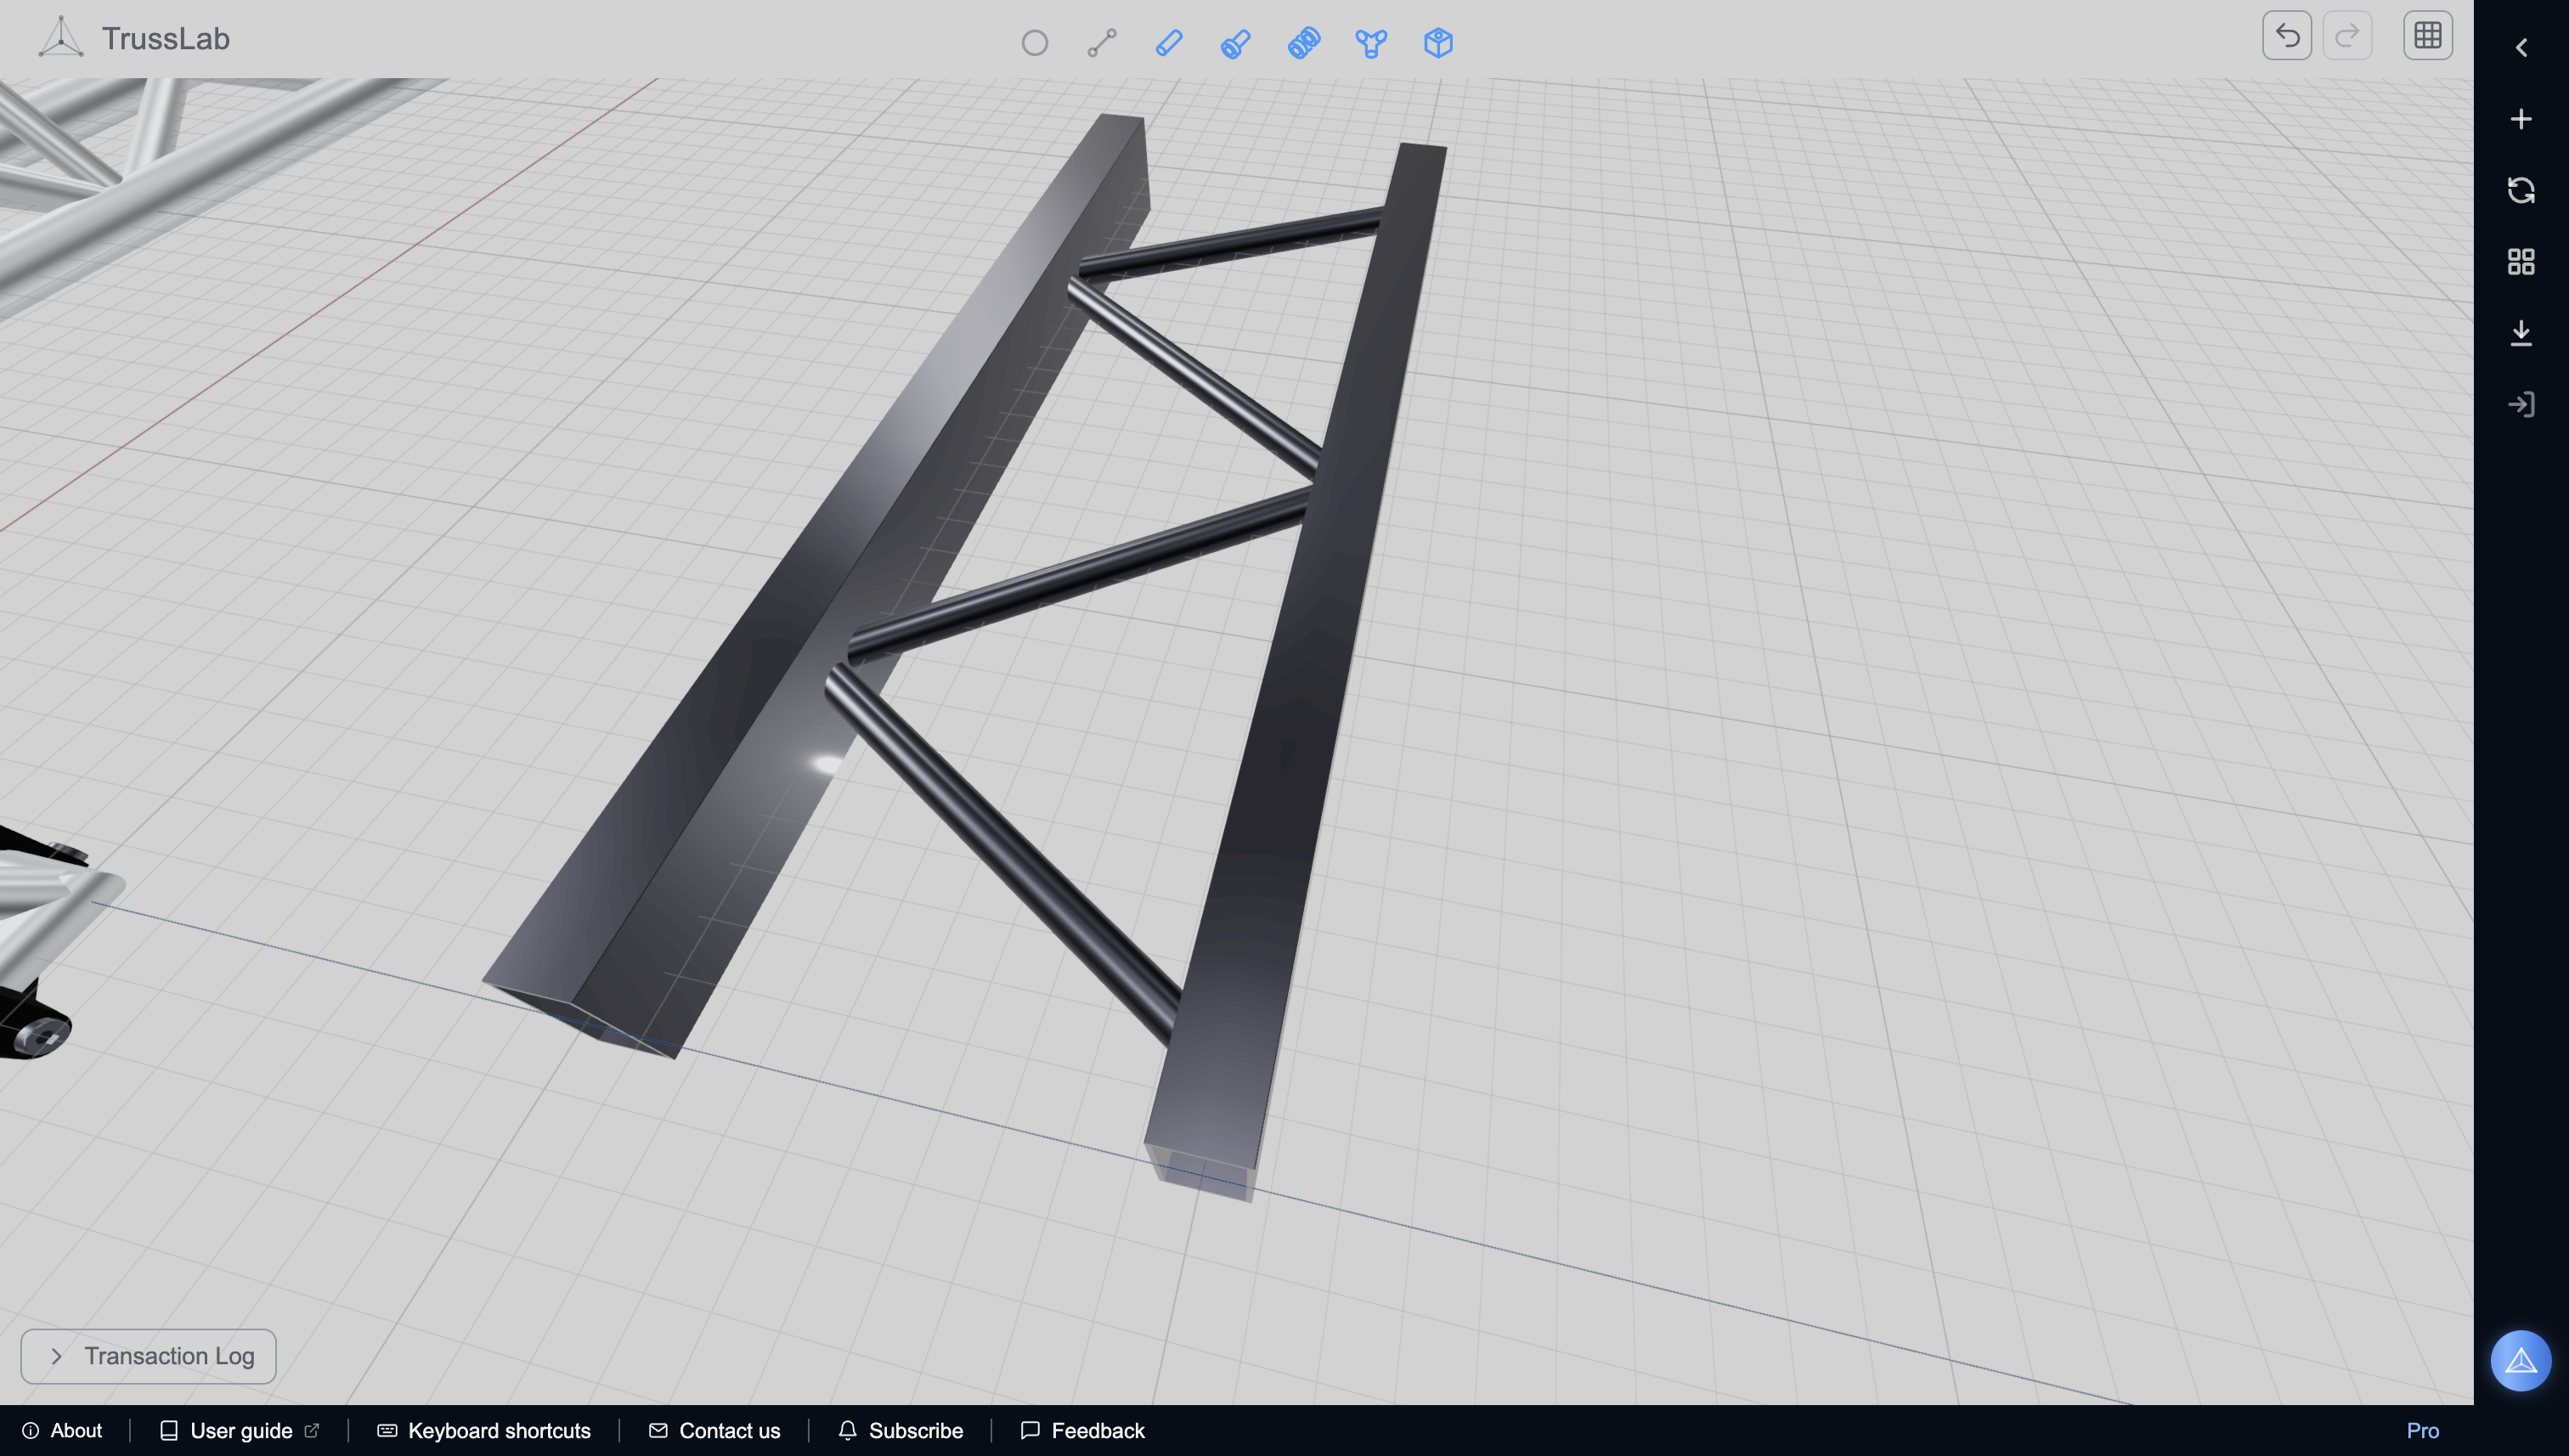
Inspect the finished geometry and required blank length when preparing cuts; the central-span length alone does not describe the complete fitted part. See stock preparation for cutting and joining requirements.
Share one editable model#
Open the Frame, attachment, or foreign-part document you want to send. In Import/Export → Model, find Share editable model and choose Editable TrussLab model.
The default file is an editable snapshot of the displayed revision, including parameters, expressions, and the dependencies it needs. It starts with clean history. Export captures the revision currently shown, including accepted edits still being saved; it does not silently choose a different history tip.
Enable Include construction history when the recipient needs the steps leading to that revision. This includes that construction path, rather than later redo steps or abandoned alternatives. Use a complete workspace backup when those retained alternatives matter.
Frame packages carry their exact attachment and foreign-part versions so the assembly opens with its intended parts. Those dependencies do not become standalone editable design documents in the recipient's library. The recipient can edit the Frame and its instance parameters. To deliver an editable attachment recipe or foreign-part definition, export that document separately.
A separately imported attachment or foreign part is an independent copy. Publishing it does not automatically offer an update to a Frame's included dependencies; matching names do not reconnect them. Exporting a model does not publish it or change its source library.
Import without replacing existing work#
Choose Import… in Import/Export, select the delivered file, and review the model names and kinds. Select what to add, then choose Add to library. Ordinary import preserves the existing workspace and creates independent local models. A supported workspace backup can also supply selected models through this same import preview.
For attachments and foreign parts, Make available in Frame Editor is enabled by default. Keep it checked to install the usable local definition after saving, or uncheck it to import an unpublished draft. Publication remains local; it does not create a public preset or upload a cloud library.
Use Open attachment or Use in current frame when offered, or choose Done after the selected models finish saving. Wait for saving to finish before closing the browser. See Add your own purchased parts for foreign-part publication and Frame use.
Preserve the complete workspace#
In Import/Export → Workspace, Download Backup preserves the local workspace, including editable documents, exact dependencies, construction history, and retained alternatives. Keep a copy outside this browser. STL, 3MF, STEP, and a registered GLB download serve geometry handoff; they do not preserve the complete editable workspace.
Restore Backup replaces the current local workspace and cannot be undone. Use Import… to add selected models while keeping existing work. Download a current backup before deliberately replacing a workspace.
An app URL alone does not transfer a local design. To move one model between browsers, or from the anonymous demo into the app, export its editable model file and import it at the destination. Use a workspace backup for complete recovery. Signing in restores account access; it does not move designs or enable sync. See Transaction history and checkpoints.
Inspect before assembly#
Check the stock lengths, joint openings, wall thickness, fastener access, and intended print orientation before printing. Purchased components belong in the BOM; their reference meshes are not printable joint geometry. Follow the assembly guide for stock preparation and a complete dry fit.
Get occasional TrussLab updates, or send questions and build notes directly.
Subscribe to our newsletter